 White base
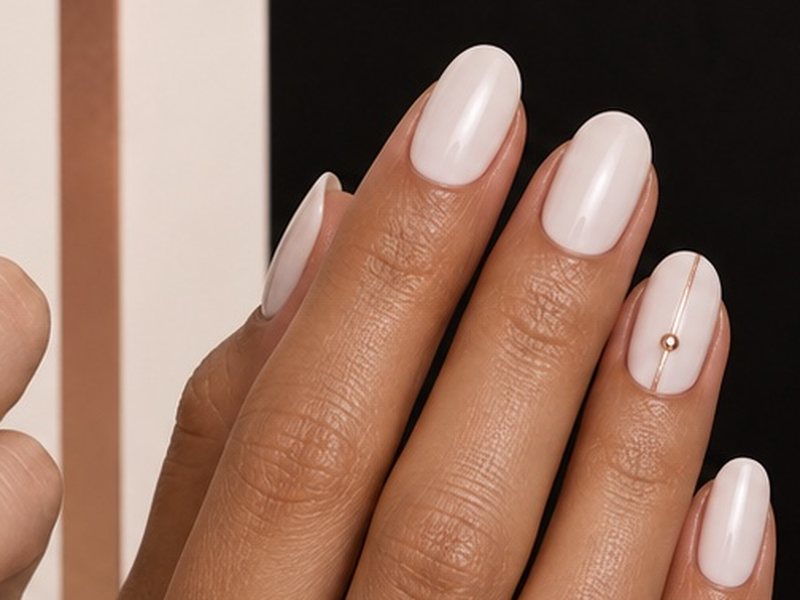
Medium Oval White Base
A softly rounded oval shape in medium length, with a clean white base.
Home—Nail designs
There are seven nail sets to choose from. Here are the sets, the shapes they come in, the kinds of designs you can put on them and how to apply your nails, so you know what you are choosing before you get there.
The nail sets
Three white base sets and four cat-eye sets with rhinestones, all in medium length. Each one is a full 30-piece set.
White base
A softly rounded oval shape in medium length, with a clean white base.
 White base
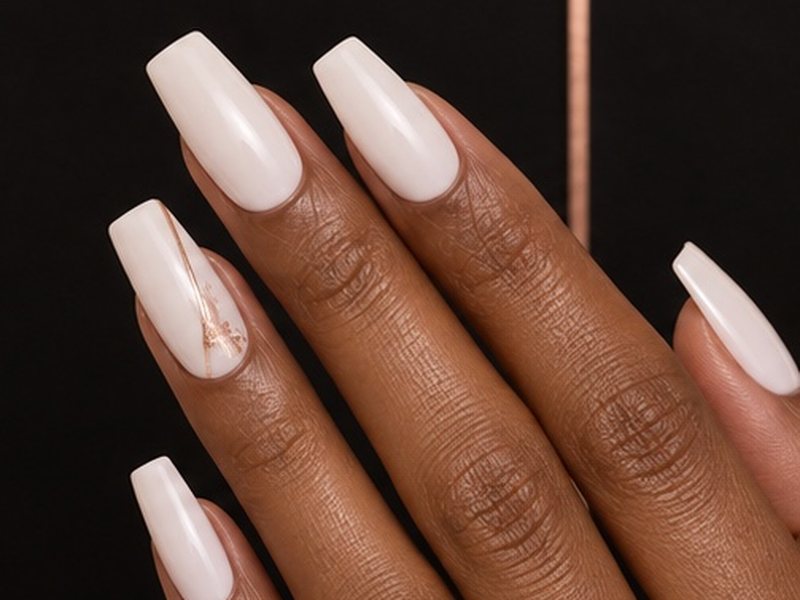
A tapered coffin shape with squared tips, in medium length with a clean white base.
 White base
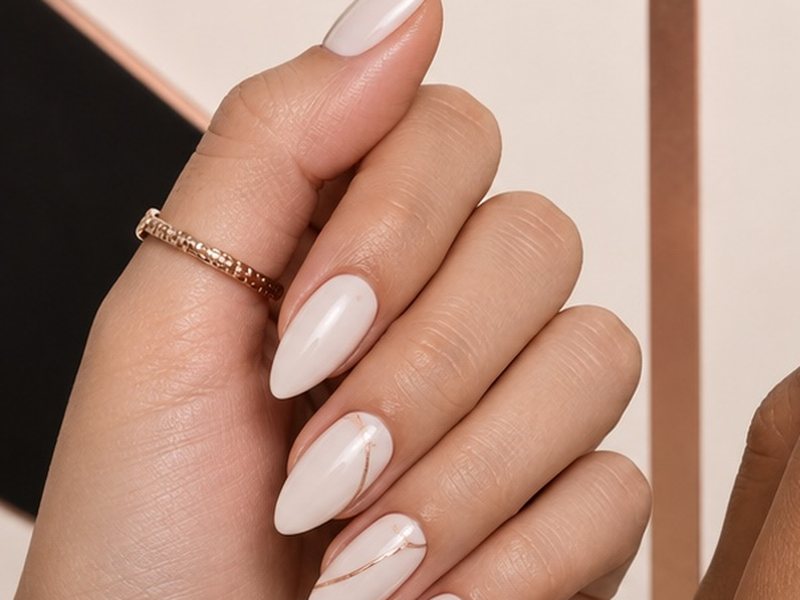
A slim almond shape in medium length, with a clean white base.
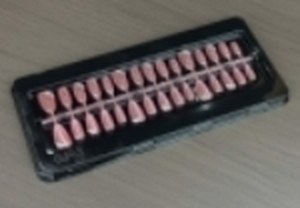
 Cat eye
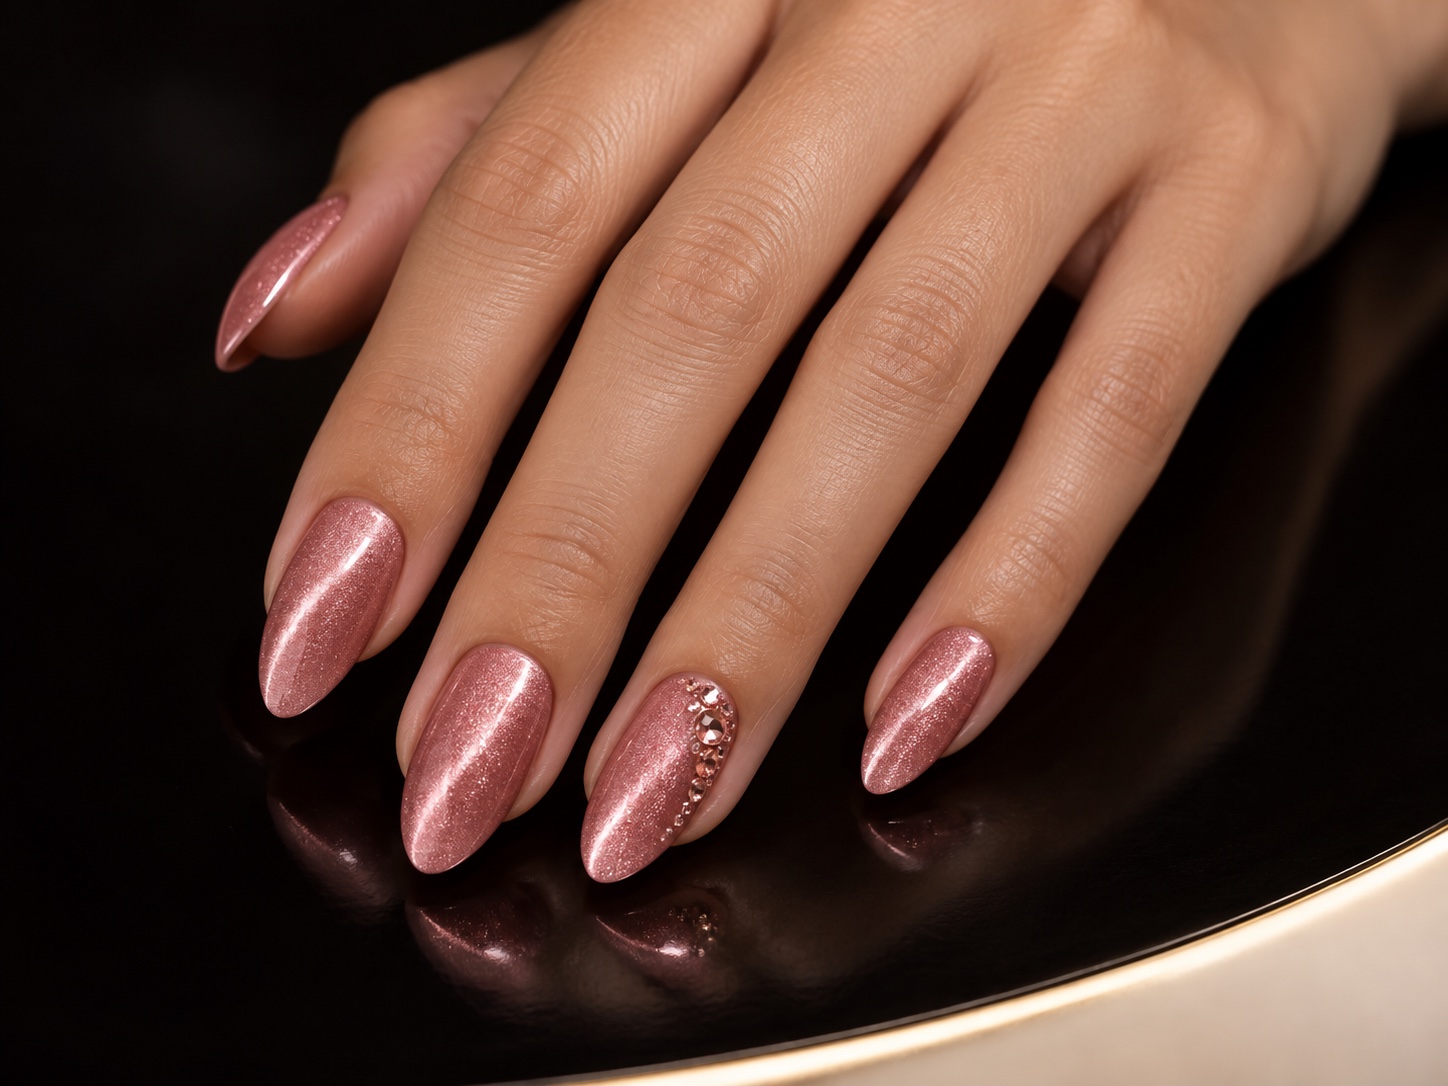
Pink cat-eye shimmer on a medium almond shape, finished with rhinestones.
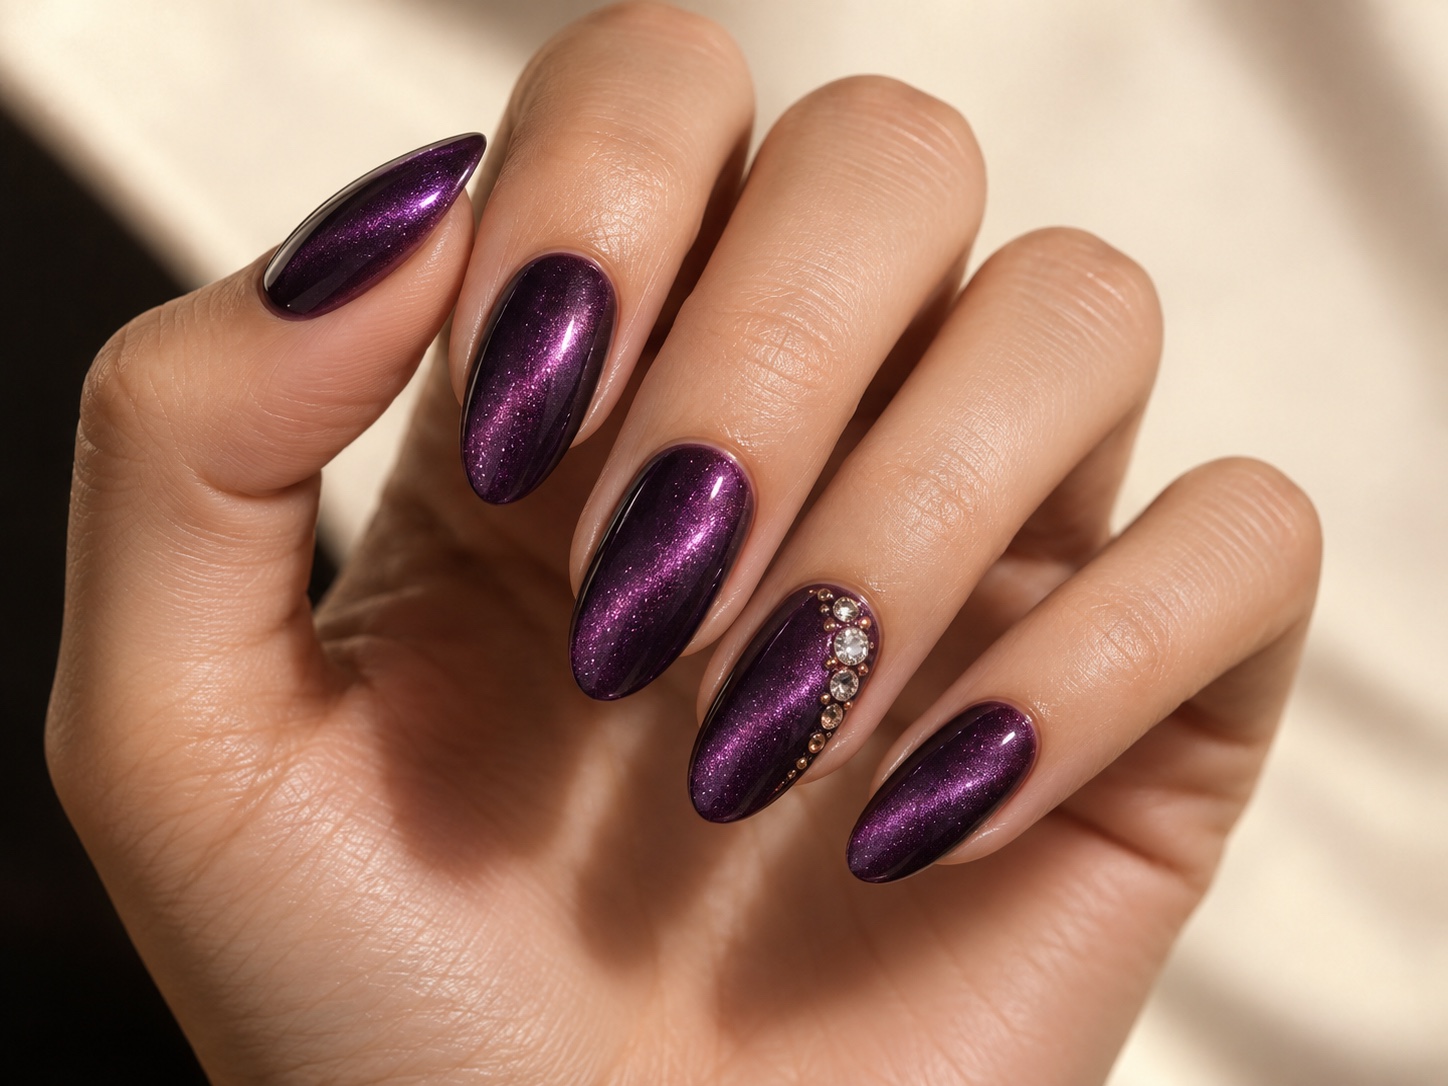 Cat eye
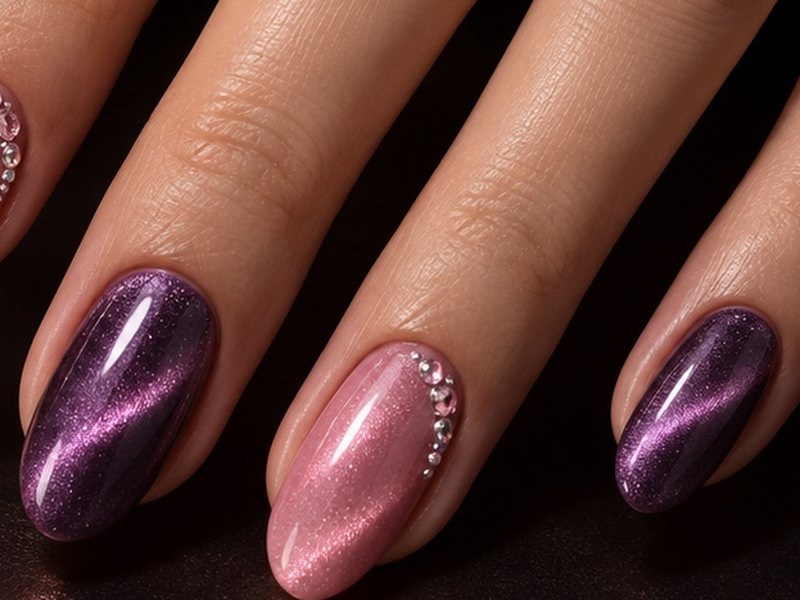
Purple cat-eye shimmer on a medium almond shape, finished with rhinestones.
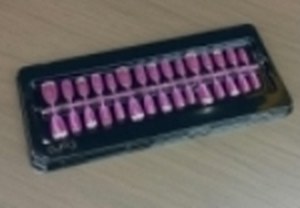
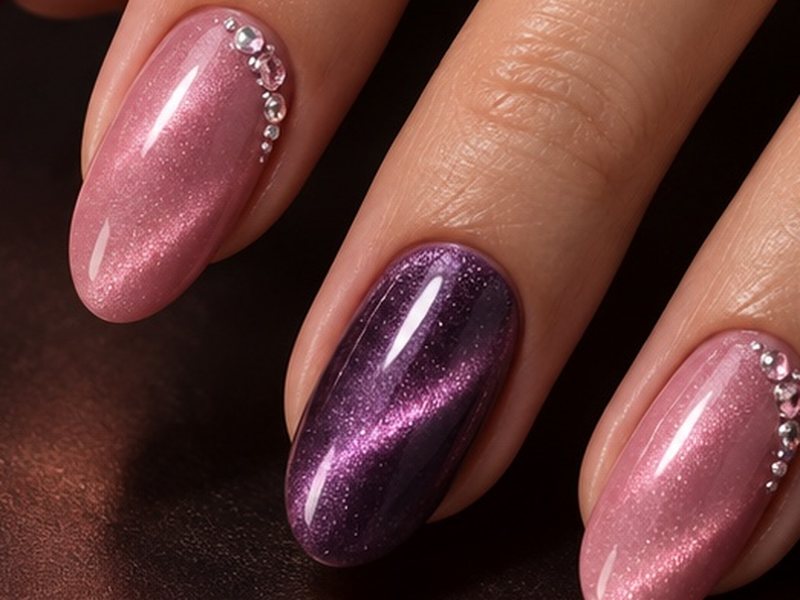 Cat eye
Pink cat-eye shimmer on a medium oval shape, finished with rhinestones.
 Cat eye
Purple cat-eye shimmer on a medium oval shape, finished with rhinestones.
Shapes
White base sets come in almond, oval and coffin. Premium cat-eye sets with rhinestones come in almond and oval.
Design ideas
A few examples of the looks you can print on your set. The designs on the machine can change, so check the screen when you get there. Pick one look across the full set, or mix different designs across the nails.
Classic white tips, coloured tips, micro French, thin outlines and single-line accents. Quiet enough for any workplace.
Blossoms, vines, pressed-flower prints and fine leaf work — printed at a detail level a brush cannot match by hand.
Rose gold, mirror silver, bronze and oil-slick shifts, laid edge to edge across the whole nail.
Veined marble, agate slices and terrazzo. Neutral from a distance, detailed up close.
Printed shimmer, confetti scatter and full-glitter coverage.
Soft fades from tip to base, baby-boomer blends and two-tone gradients that stay smooth across the curve.
Black lacquer, deep jewel tones, gothic line work and everything for a night that starts late.
Scan the QR code on the machine and send any photo from your phone — a pet, a logo, a pattern. It is fitted to each nail, then printed like any other design.
How to apply
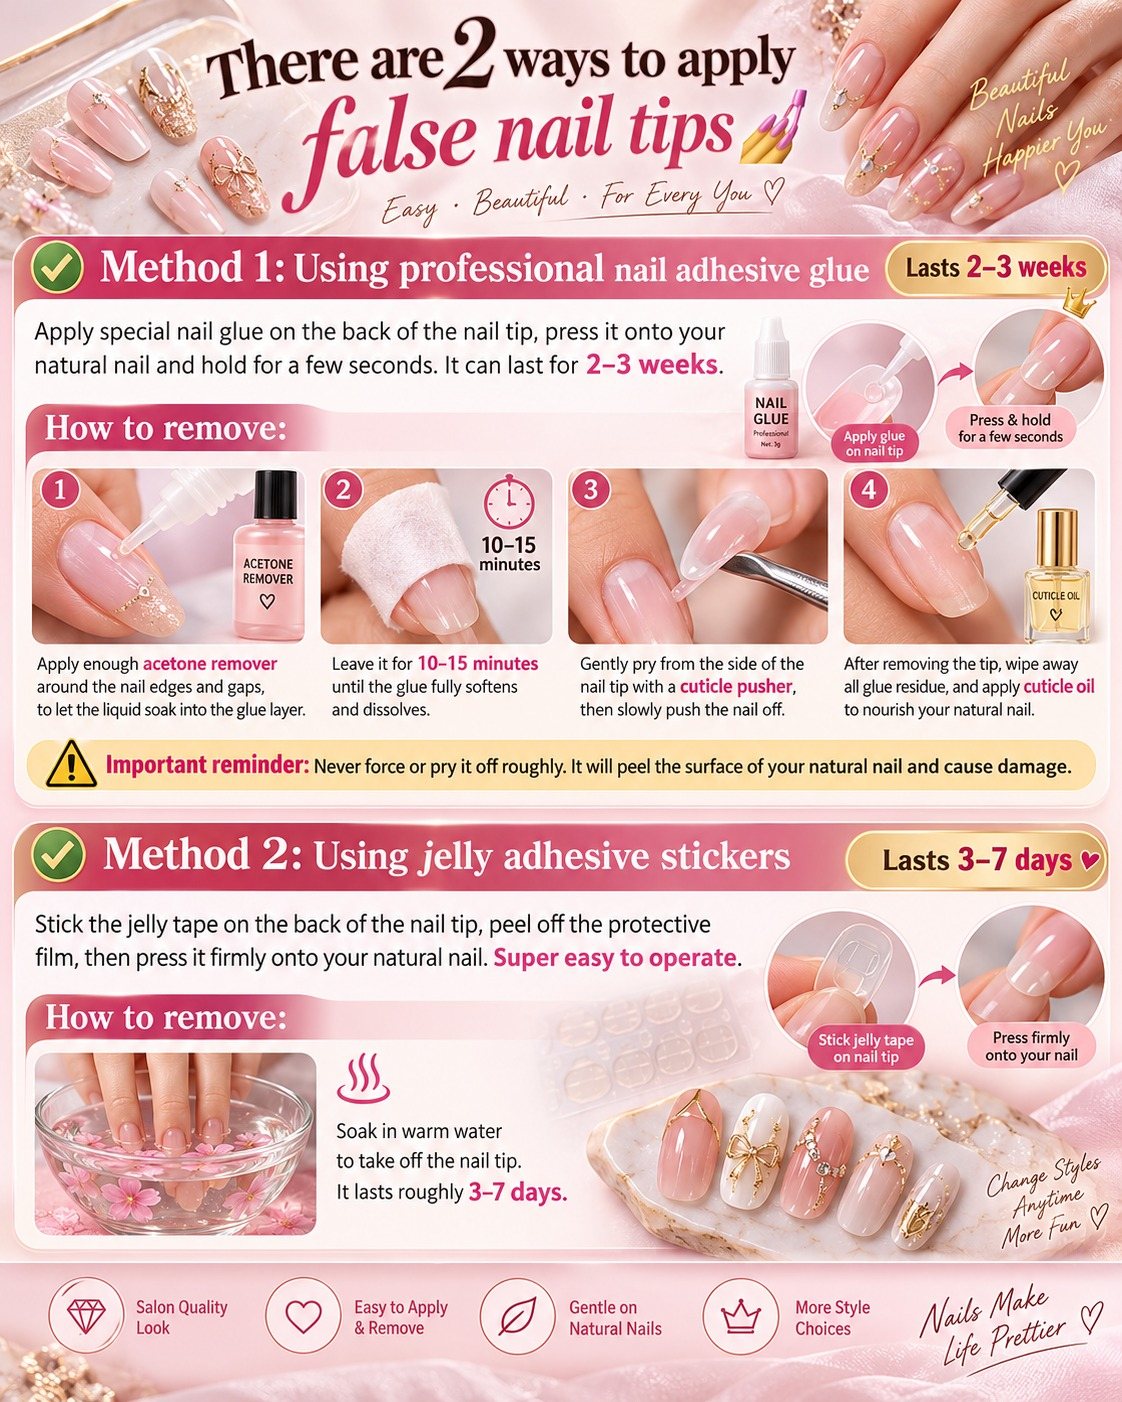
Your printed set comes with a designed toolkit and glue. Here is how to put the nail tips on, and how to take them off again without damaging your natural nails.
Apply special nail glue on the back of the nail tip, press it onto your natural nail and hold for a few seconds.
Important: never force or pry it off roughly. It will peel the surface of your natural nail and cause damage.
Stick the jelly tape on the back of the nail tip, peel off the protective film, then press it firmly onto your natural nail. Super easy to do.
Soak in warm water to take off the nail tip.
Pick yours in person
Watch the latest machine videos, then read the rules so your first session goes smoothly.